Rosa Motor Sailor Refit – Part Three
Today we’re checking back in with the stylish motor sailer, Rosa, who’s undergoing an extensive refit to get her ready for our busy season ahead. We’ve already had a behind-the-scenes glimpse of the new galley, the new glazing and the ‘plastification’ of the roof – this week we’re going to be seeing how the roof is progressing, as well as checking out the deck as Captain I undertake a lot of sanding (and when we say ‘a lot’, we really mean it!).
This is Captain Andi and his partner Ivana. We wanted to show you the faces behind the hard work on the pictures you’re about to see – these two have put in so many hours in recent months, giving Rosa a fabulous revamp. We bet theycan’t wait to get her back out on the water!
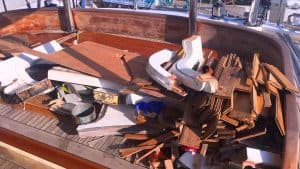
As you can imagine, renovating and refitting a boat creates quite a lot of waste. Throughout the process, Captain Andi and Ivana have tried to recycle as much of this waste as they can, but there’s inevitably going to be some left over. In the picture above, you can see some of the waste that hasn’t yet been recycled –but rest assured, Captain Andi is determined to use it somehow, and make sure it doesn’t end up in landfill somewhere!
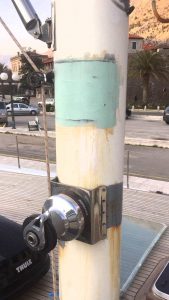
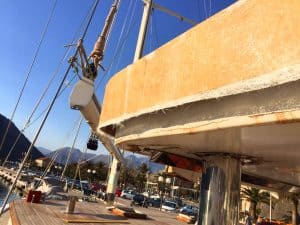
This is a picture of the mast, which has been given a shiny new winch (a winch is basically a small mechanical device which winds up or winds out the ropes used
to adjust the sails. We think the mast might also be given a lick of paint at some point.
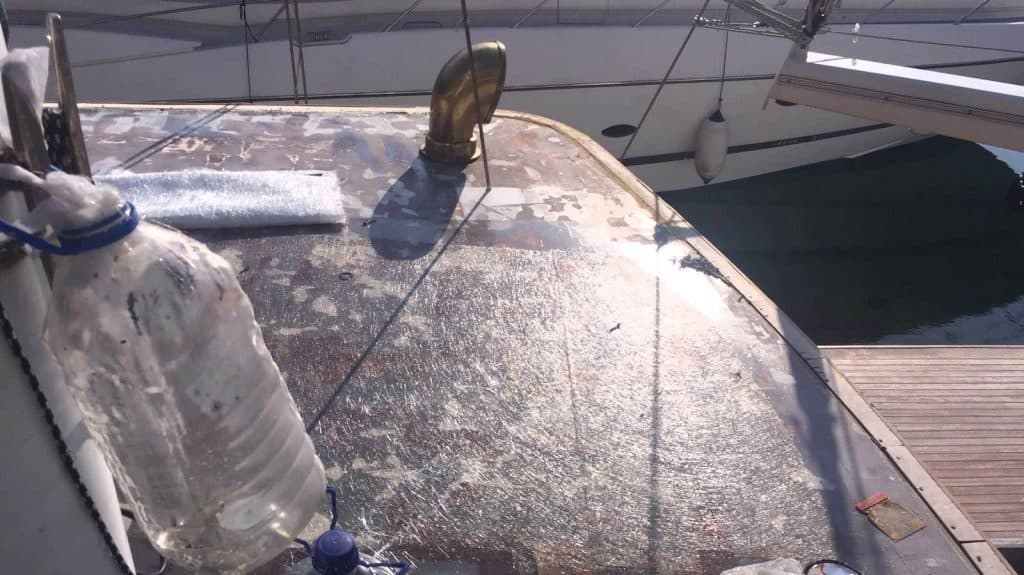
Here, you can see how the ‘plastification’ (still Captain Andi’s favourite word) of the roof is progressing.
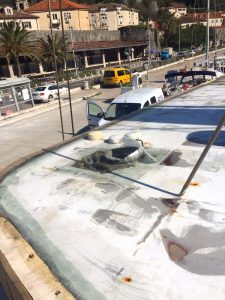
The new fibreglass has been applied to the roof and will be sealed around the air scoops. These air scoops can be rotated – their primary purpose is to ventilate the lower decks, but they need to be able to swivel around in case of bad weather. The last thing you want is rainwater reaching the lower decks!
As you can see here, the matt and resin of the fibreglass is turned up around the air vent shaft to ensure it’s totally sealed and completely weatherproof.
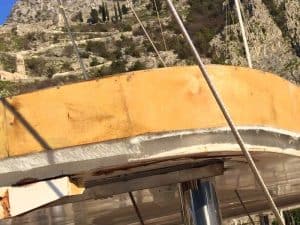
The fibreglass also reaches around the new pelmet which we saw in Blog 1– this will eventually give guests total control over privacy, as well as protecting them from wind when they’re on the aft deck.
When applying the fibreglass coating, the resin is left to soak through completely. The edge is left rough while the resin hardens, then when it’s totally solid, a grinder-type device is used to smooth the rough edges and make it look neat.
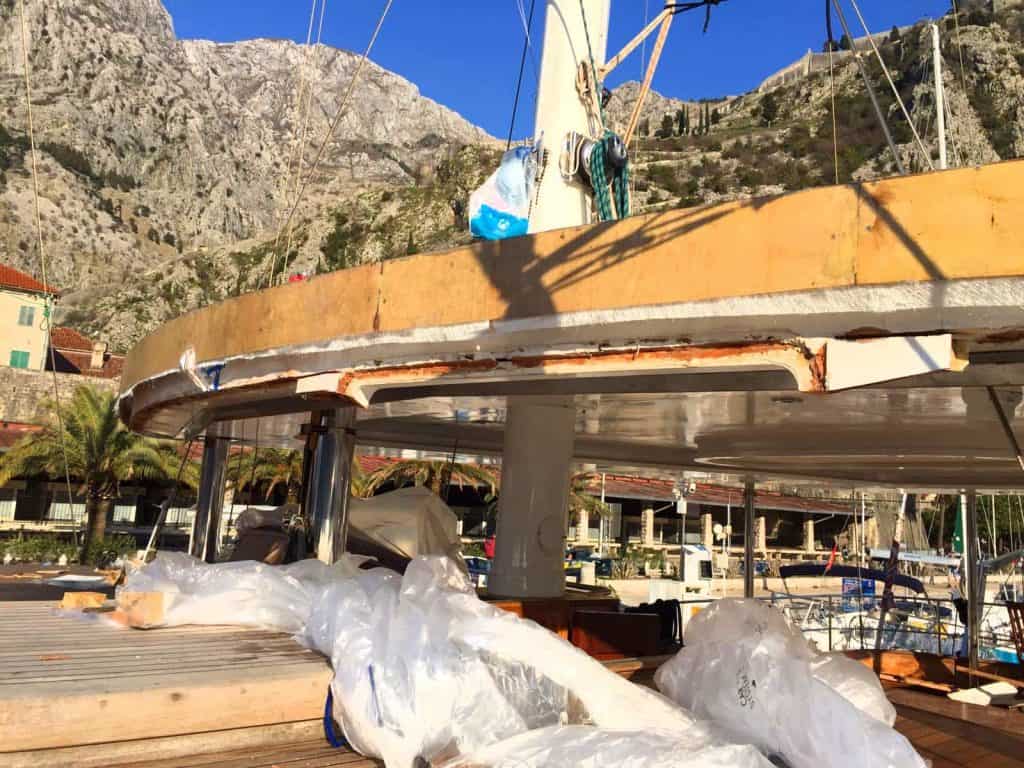
As you can see here, there’s a little more trimming of the old window frames to be done before the new glazing can go in –we’ve already had a sneak peek of how the new windscreen will look, and we’re thrilled to say it looks fabulous.
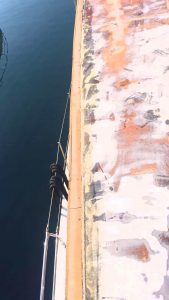
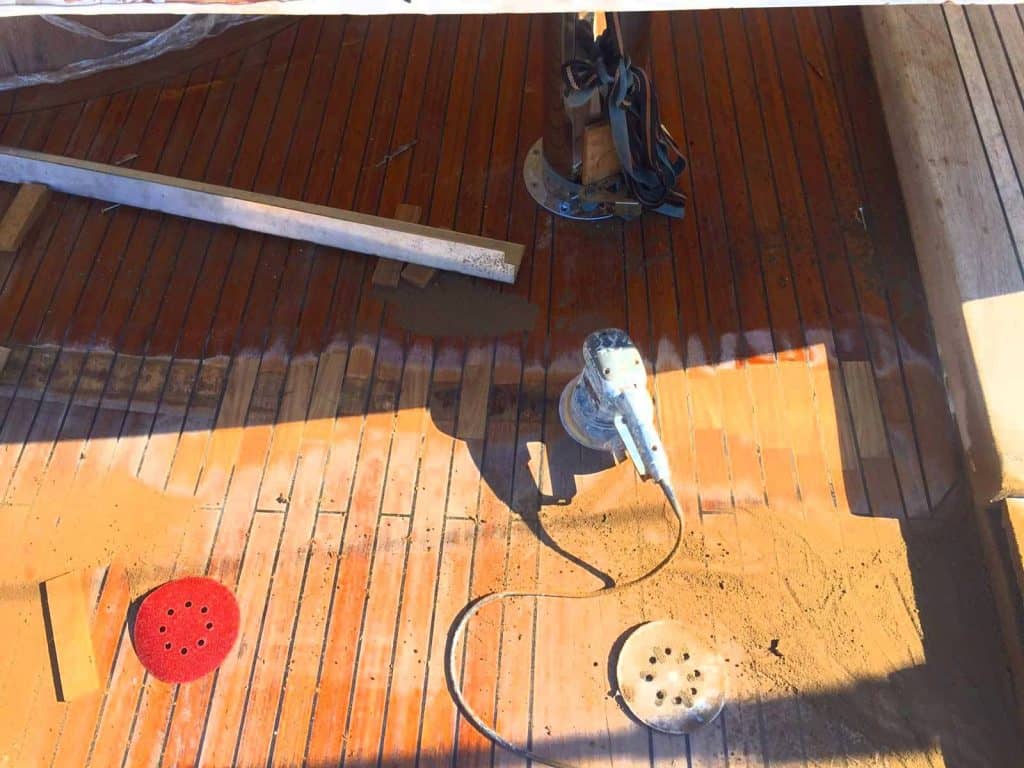
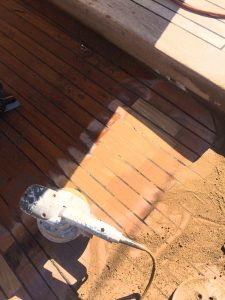
After the old windows had been removed, there was quite a lot of sanding to do. Usually on a boat like this, you’ll notice raw timber outside and varnished timber on the inside. Captain Andi has had to sand the entire deck around the oldwindows to remove any traces of the old layout (above you can clearly see where the raw timber ends and the varnish begins). You’ll also notice the hatch to the bottom left of the photo. This is the entrance to the companionway (the boat term for ‘staircase’). This hatch slides across to reveal the entrance to all of the lower decks. As you can imagine, it’s a very commonly used area, so Captain Andi wanted the surrounding space to look immaculate.
The magnitude of the job was enormous! All credit to Captain Andi for persevering in the name of perfection.


